
")

.jpg "88FN02B-E(1)")

1. Pre-Installation Preparation & Safety Precautions
- Isolate Power to the Parent System: Implement Lockout – Tagout (LOTO) procedures on the DCS cabinet or rack power supply to eliminate electrical shock risks. Confirm the power indicator of the rack is off before proceeding.
- Inspect Module Integrity:
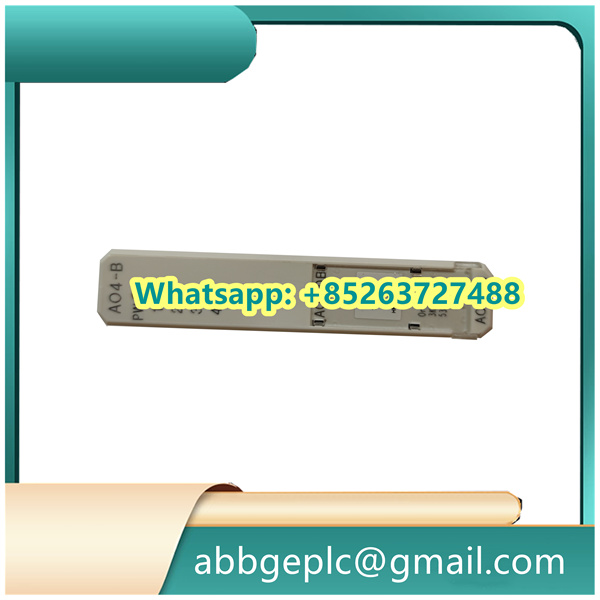
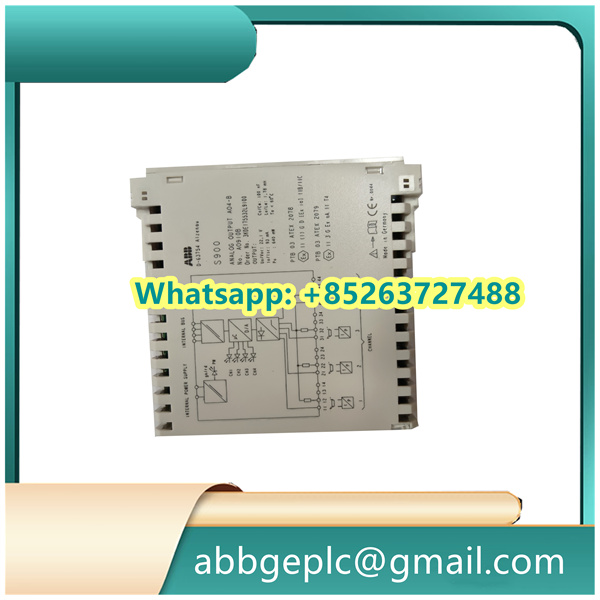
- Examine the NTAI06 module for physical damage, including cracks on the housing, bent pins on the backplane connector, or corrosion on terminal blocks (labeled “AI1” to “AI6” for 6 analog input channels).
- Verify that the module’s part number (printed on the front label) matches the bill of materials to ensure compatibility with the target rack (e.g., ABB PM860/PM861 processor rack).
- Gather Tools & Materials:
- DIN rail mounting tool (if applicable) or screwdriver for rack installation.
- Torque screwdriver (0.5 – 1.0 N·m) for terminal wiring.
- Shielded twisted – pair (STP) cables (22 – 18 AWG) for analog signal transmission.
- Multimeter (for continuity and voltage checks) and the system wiring diagram.
- Check Environmental Conditions: Ensure the installation area meets ABB’s specifications:
- Temperature: – 25°C to + 60°C (- 13°F to + 140°F) for operating environments.
- Humidity: ≤ 95% non – condensing.
- Vibration: ≤ 0.2g (10Hz – 1000Hz) to prevent loose connections.

2. Physical Mounting of the NTAI06 Module
- Identify the Target Rack Slot:
- Locate an empty analog I/O slot in the ABB AC800M rack (positioned after the processor module and before communication modules for optimal signal integrity).
- Clean the slot’s backplane connector with a dry, lint – free cloth to remove dust or debris that could cause poor contact.
- Install the Module into the Rack:
- Align the NTAI06’s top and bottom guide rails with the rack’s slot guides.
- Slide the module into the slot until the backplane connector makes contact (you will feel a slight resistance).
- Secure the module to the rack using the front – panel locking screws; tighten to 0.8 N·m with a torque screwdriver to ensure stability.
- Verify Mounting Security:
- Gently tug the module’s front panel to confirm it is firmly seated (no movement indicates proper installation).
- Ensure there is a minimum clearance of 30mm between the NTAI06 and adjacent modules to facilitate airflow and heat dissipation.
3. Wiring the NTAI06 Module
- Review Wiring Diagrams:
- Refer to the system wiring diagram to identify the sensor signal source, power connections (if required for active sensors), and ground points.
- Note that the NTAI06 supports both 2 – wire (loop – powered) and 4 – wire (externally powered) analog sensors—confirm the wiring type for each channel.
- Wire Analog Input Channels (AI1 – AI6):
- For 4 – 20mA 2 – wire sensors:
- Connect the sensor’s positive (+) wire to the “AIx+” terminal (e.g., AI1+ for channel 1) and the negative (-) wire to the “AIx-” terminal.
- Ensure the loop power (typically 24V DC from the rack’s internal power supply) is enabled for the channel via the system configuration software.
- For 0 – 10V 4 – wire sensors:
- Connect the sensor’s signal (+) wire to “AIx+”, signal (-) wire to “AIx-“, and the sensor’s power wires to an external 24V DC supply (separate from the module’s power).
- Shielding & Grounding:
- Strip 10mm of insulation from the STP cable’s shield; connect one end to the NTAI06’s chassis ground terminal (labeled “GND”) and the other end to the sensor’s ground (single – point grounding to avoid ground loops).
- Avoid grounding the shield at both ends in noisy environments (e.g., near variable frequency drives) to prevent EMI – induced signal distortion.
- Post – Wiring Checks:
- Use a multimeter to test continuity between sensor wires and module terminals (no continuity indicates a broken wire; resolve before powering on).
- Verify no short circuits exist between “AIx+” and “AIx-” terminals (resistance should be ≥ 10kΩ for unpowered sensors).


There are no reviews yet.