
")
")
")
")
1. Pre-Operation Preparation & Safety Checks
- Implement Lockout-Tagout (LOTO) procedures on the parent system (e.g., drive cabinet or control panel) to isolate power and prevent electrical hazards.
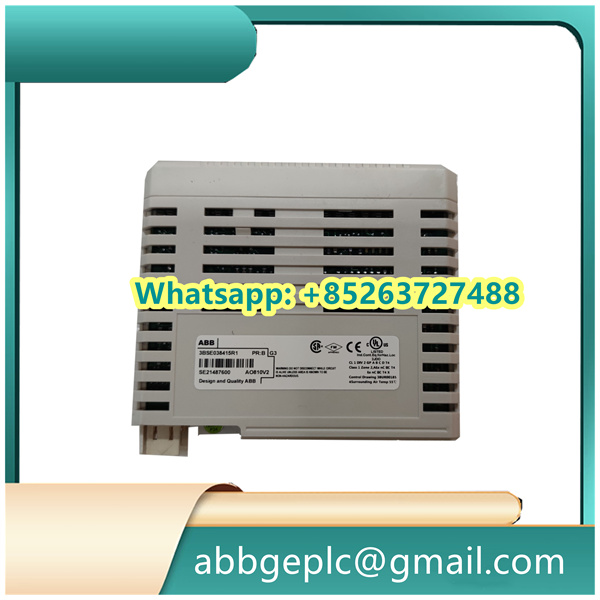
- Inspect the LDMUI-001 unit and its accessories for physical integrity:
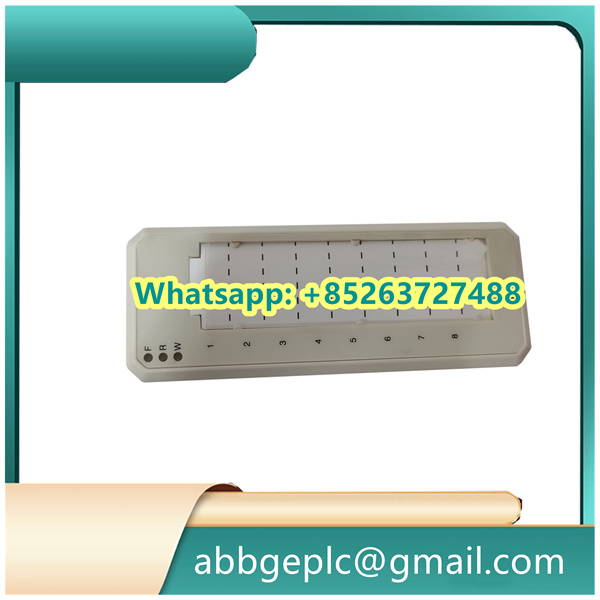
- Check the module housing for cracks, corrosion, or damage to terminal blocks (labeled “INPUT,” “OUTPUT,” and “POWER” on the front panel).
- Verify that the included connection cables (e.g., shielded twisted-pair wires for signal transmission) are intact, with no frayed insulation or exposed conductors.
- Confirm compatibility with the parent system: Ensure the LDMUI-001’s voltage rating (typically 24V DC) matches the system’s power supply, and that the signal input range (e.g., 0-10V or 4-20mA) aligns with the sensors it will monitor.
- Prepare tools and documentation: Gather a torque screwdriver (for terminal connections), a multimeter (for voltage checks), and the system wiring diagram (to identify signal and power terminals).
2. Physical Installation & Wiring
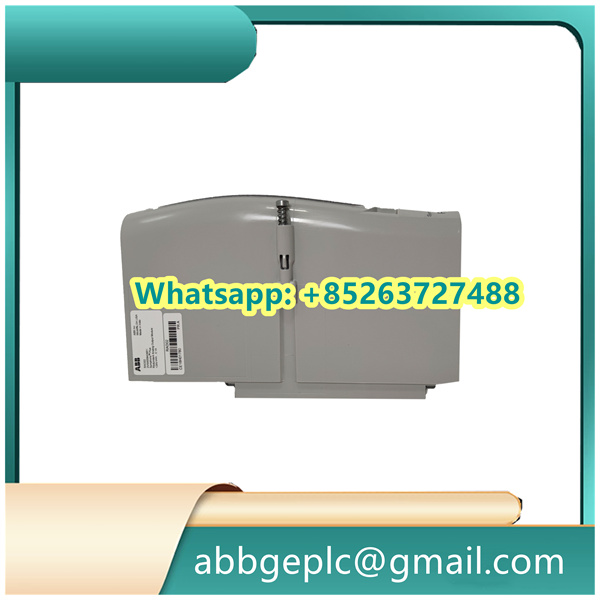
- Mount the LDMUI-001 unit onto the DIN rail inside the control cabinet:
- Align the unit’s top and bottom DIN rail clips with the cabinet rail; push firmly until a “click” confirms secure attachment.
- Ensure a minimum clearance of 50mm around the unit to allow for heat dissipation (critical for avoiding overheating during continuous operation).
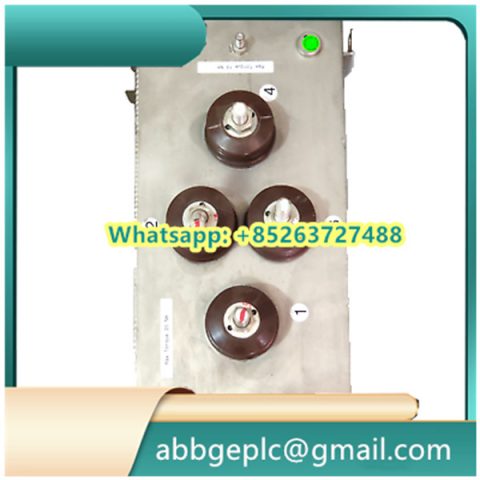
- Connect wiring per the system diagram, using the torque screwdriver to fasten terminals (torque specification: 0.8-1.2 N·m):
- Power Connection: Connect the 24V DC positive (+) wire to the “PWR+” terminal and negative (-) wire to the “PWR-” terminal.
- Signal Inputs: Attach sensor wires to the “INPUT” terminals (e.g., connect a current sensor’s output to terminals “I-IN1” and “I-IN2” for current monitoring).
- Signal Outputs: Connect the “OUTPUT” terminals to the parent system’s data receiver (e.g., DCS input module) using shielded cables; ground the cable shield at both ends to reduce electromagnetic interference (EMI).
- Perform a post-wiring check with a multimeter:
- Verify no short circuits exist between power and signal terminals (resistance should be ≥1MΩ).
- Confirm the 24V DC power supply is present at the “PWR+” and “PWR-” terminals (voltage reading: 23.5-24.5V DC).
3. Power-Up & Initialization
- Remove LOTO devices from the parent system only after confirming all wiring is complete and personnel are clear of the cabinet.
- Turn on the parent system’s power breaker, followed by the LDMUI-001’s dedicated power switch (labeled “ON/OFF” on the side panel).
- Monitor the unit’s LED status indicators for 30 seconds to confirm normal initialization:
- Green “PWR” LED: Illuminates steadily to indicate successful power input.
- Yellow “INIT” LED: Flashes during self-test (typically 15-20 seconds) and turns solid once the unit is ready for operation.
- Red “FAULT” LED: Remains off; if lit (steady or flashing), immediately shut down power and check for wiring errors (e.g., reversed power polarity or shorted signal wires).
- Verify communication with the parent system: Use the system’s HMI or ABB Control Builder software to confirm the LDMUI-001 is detected (check for “Device Online” status in the software interface).

There are no reviews yet.