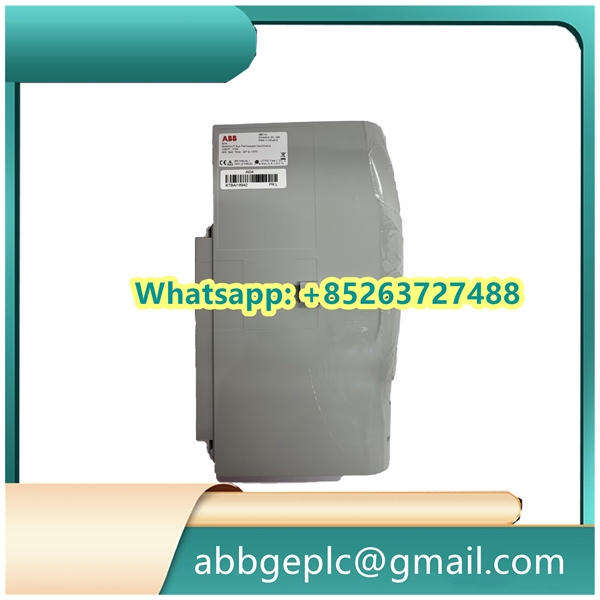
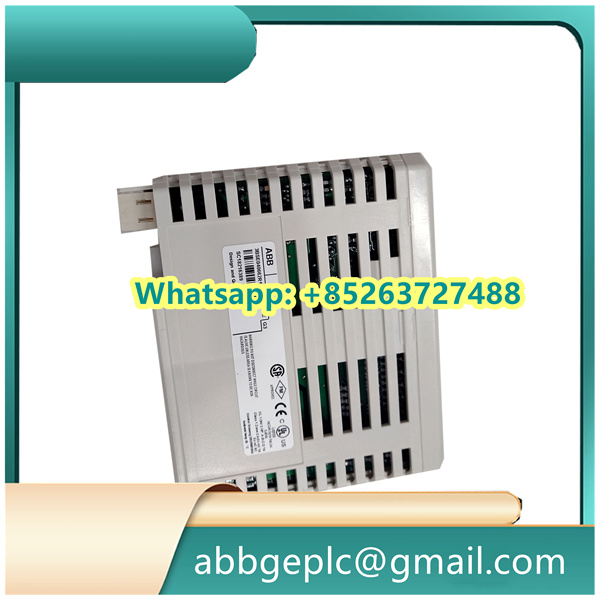
Home/ABB/GVC736CE101 ABB Servo Valve Interface Module
GVC736CE101 ABB Servo Valve Interface Module
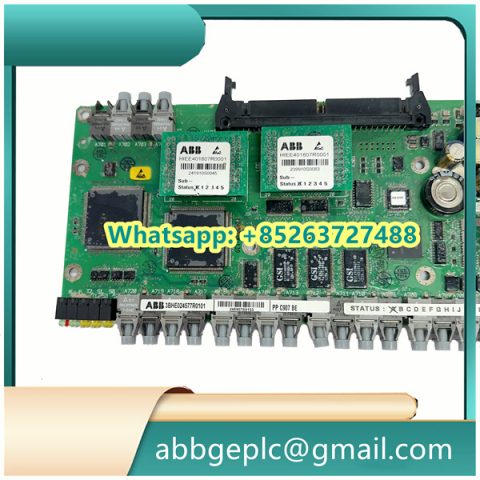
- Ensure the ABB SPC700 module is correctly installed in the target control cabinet (refer to ABB’s installation manual for mounting requirements).
- Verify that all external connections (power cables, I/O signal cables, communication cables) are securely attached and aligned with the correct terminals (e.g., power input terminals, analog/digital I/O ports).
- Confirm the power supply voltage matches the SPC700’s specifications (typically 24V DC for industrial use); check for voltage fluctuations using a multimeter if necessary.
- Turn on the main power switch of the control cabinet, then activate the power supply for the SPC700 module.
- Observe the status LEDs on the SPC700 front panel:
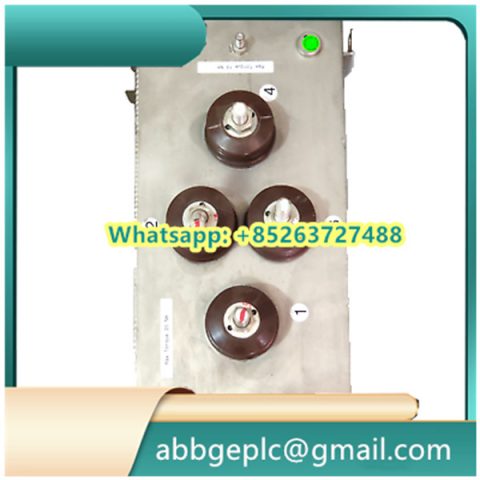
- The Power LED (usually green) should illuminate steadily, indicating normal power input.
- The Fault LED (usually red) should remain off; if it flashes or stays on, troubleshoot connection issues (e.g., loose cables, incorrect voltage) before proceeding.
- Install and launch ABB’s compatible configuration software (e.g., ABB Control Builder M or dedicated SPC700 programming tool) on a PC.
- Establish communication between the PC and the SPC700 module:
- Use a suitable communication cable (e.g., RS485 or Ethernet cable, depending on the SPC700’s communication interface).
- In the software, select the correct communication protocol (e.g., Modbus RTU, Profinet) and configure the SPC700’s IP address (for Ethernet) or slave address (for RS485) to match the network settings.
- Click “Connect” in the software; confirm a successful connection via the software’s status prompt (e.g., “Connected to SPC700 [Device ID]”).
- In the configuration software, access the “Parameter Setup” menu for the SPC700.
- Configure basic operating parameters based on the application requirements:
- I/O Channel Settings: Define the type of input/output signals (e.g., 4-20mA analog input, 24V DC digital output) for each channel.
- Control Logic Parameters: Set thresholds (e.g., analog input upper/lower limits), delay times (for digital signal filtering), and output action rules (e.g., “Digital Output 1 activates when Analog Input 1 exceeds 15mA”).
- Communication Parameters: Verify or adjust baud rate, parity bit, and stop bit (for serial communication) to ensure compatibility with other system components (e.g., sensors, actuators, upper-level PLCs).
- Save the configured parameters to the SPC700 module (click “Download” in the software) and wait for the confirmation message (“Parameters successfully saved”).
- In the configuration software, switch the SPC700 from “Configuration Mode” to “Run Mode” (usually via a toggle button or dropdown menu).
- Monitor real-time data in the software’s “Monitoring Dashboard”:
- Check analog input values (e.g., sensor readings) and digital input status (e.g., “On/Off” for limit switches) to confirm accurate signal acquisition.
- Verify that digital/analog outputs respond correctly to input changes (e.g., if a temperature sensor reading exceeds the set limit, the corresponding cooling fan output should activate).
- Record initial operating data (e.g., baseline I/O values) for future maintenance reference.
Product has been added to your cart

")
")
")
")
There are no reviews yet.