
")
")
")
")
1. Pre-Installation Preparation
– Verify that the CI861 module (order code 3BSE058590R1) is compatible with the target ABB automation system (e.g., 800xA, AC800M controllers) by checking the system compatibility matrix.
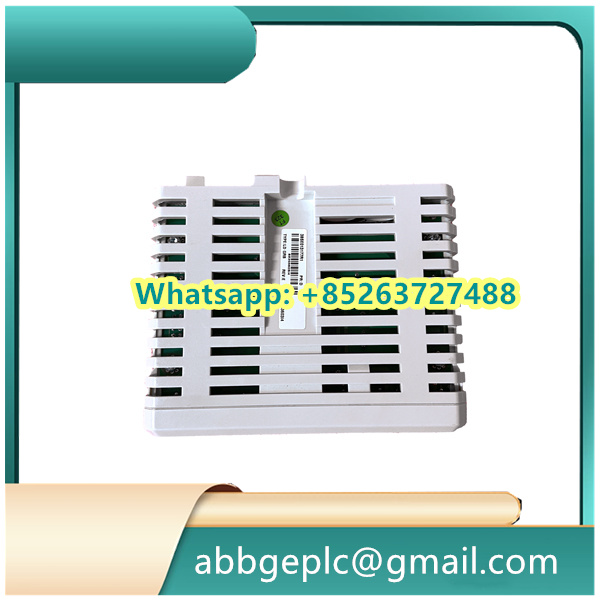
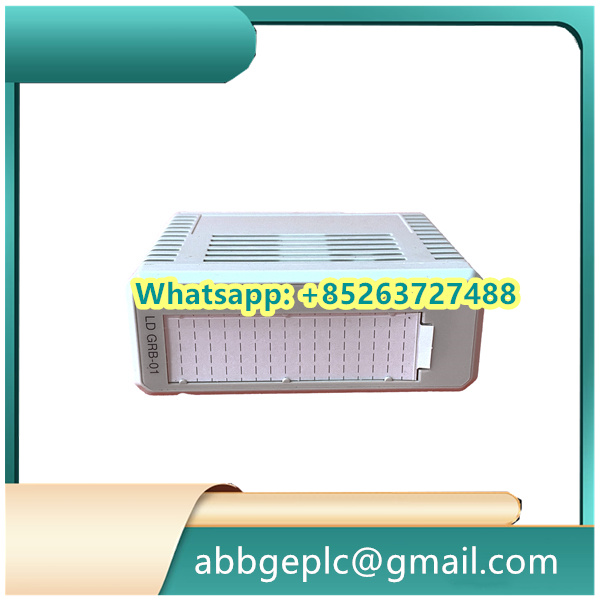
– Inspect the module for physical damage, including bent pins on the backplane connector, cracks in the housing, or loose components. Ensure all accessories (mounting screws, label sheet) are included.
– Prepare tools: Phillips screwdriver, anti-static wristband, torque wrench (set to 0.5–0.8 N·m), and a laptop with ABB Control Builder M software installed for configuration.
– Confirm the installation environment meets specifications: temperature (-25°C to +70°C), humidity (5–95% non-condensing), and freedom from excessive vibration or electromagnetic interference.
## 2. Physical Installation
– Power off the controller chassis and any connected systems to prevent electrical damage.
– Wear the anti-static wristband and connect it to a grounded surface to avoid electrostatic discharge.
– Align the CI861 module with the designated slot in the controller rack, ensuring the guide rails engage with the chassis. Slide the module firmly into place until the backplane connector fully mates.
– Secure the module using the front-panel mounting screws, tightening to the specified torque (0.5–0.8 N·m) to ensure stability without over-tightening.
## 3. Wiring Connections
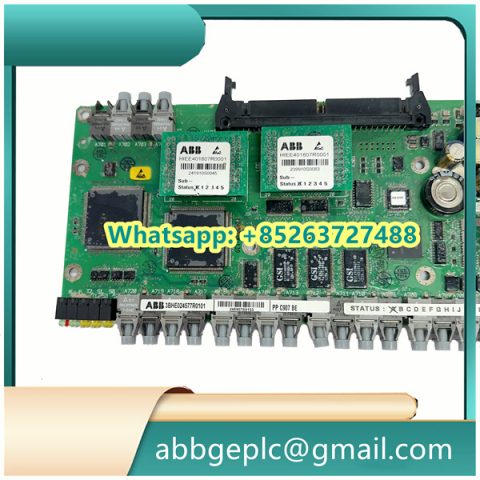
– Refer to the CI861 wiring diagram to identify terminals for power, Ethernet, and fieldbus connections (e.g., Profibus DP, Modbus TCP).
– **Ethernet Connection**: Use a shielded Cat5e/Cat6 cable to connect the “ETH” port to the network switch or controller. Secure the connector with the integrated locking tabs.
– **Fieldbus Connection** (if applicable): For Profibus DP, connect the fieldbus cable to the “PB” port, ensuring proper termination (120Ω resistor) at the end of the bus. Ground the cable shield to the module’s grounding terminal.
– **Power Supply**: The module is typically powered via the backplane; no external power wiring is required. Confirm backplane voltage (24V DC) is within the 20–28V range using a multimeter.
## 4. Initial Configuration via Control Builder M
– Power on the controller chassis. The CI861’s status LED will blink green during initialization (approximately 2 minutes) and remain steady green once ready.
– Launch Control Builder M and connect to the target controller. Navigate to the “Hardware Configuration” menu and locate the CI861 module in the rack.
– Assign a unique IP address to the module (if using Ethernet) via the software interface, ensuring compatibility with the network subnet.
– Configure communication parameters:
– For Profibus DP: Set the baud rate (1200 kbps to 12 Mbps), address (1–126), and data exchange format (e.g., input/output data lengths).
– For Modbus TCP: Define the slave ID, register mapping, and update rate.
– Save the configuration and download it to the controller. The module will reboot to apply settings, indicated by a brief LED flash.
## 5. Operation and Monitoring
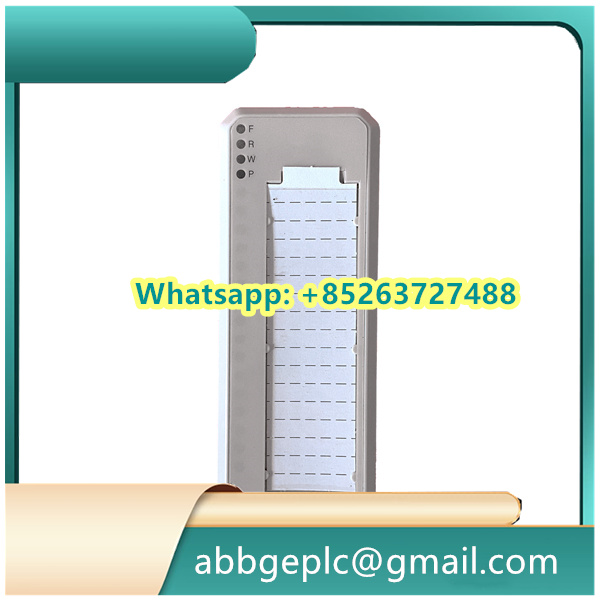
– **Status Verification**: Check the front-panel LEDs to confirm operation:
– Green “PWR”: Module powered correctly.
– Green “COM”: Active communication on Ethernet/fieldbus.
– Red “ERR”: Fault detected (refer to troubleshooting section).
– **Data Exchange Test**: Use the software’s “Online Monitoring” function to verify data transmission between the module and connected devices (e.g., sensors, actuators, or other controllers).
– **Redundancy Check** (if configured): Simulate a primary path failure to ensure automatic switchover to the redundant CI861 module (if installed), maintaining uninterrupted communication.
## 6. Maintenance and Troubleshooting
– **Regular Inspections**: Perform monthly checks:
– Verify secure connections of Ethernet/fieldbus cables.
– Clean dust from ventilation slots using compressed air (power off the module first).
– Check for error logs in Control Builder M, addressing any recurring faults.
– **Troubleshooting Common Issues**:
| Symptom | Cause | Solution |
|———|——-|———-|
| Red “ERR” LED | Invalid IP address or communication timeout | Reconfigure network settings; check cable continuity. |
| No data exchange | Incorrect fieldbus parameters | Verify baud rate, address, and termination; reset module. |
| Intermittent communication | Electromagnetic interference | Ensure proper shielding and grounding of cables. |

There are no reviews yet.